Swipe
PRACTICE MAKES PERFECT!
Do not feel disheartened if you find yourself struggling, although we have a high success rate of people who find it easy straight away, we also have some customers it has taken a few attempts to discover the best way that suits them!
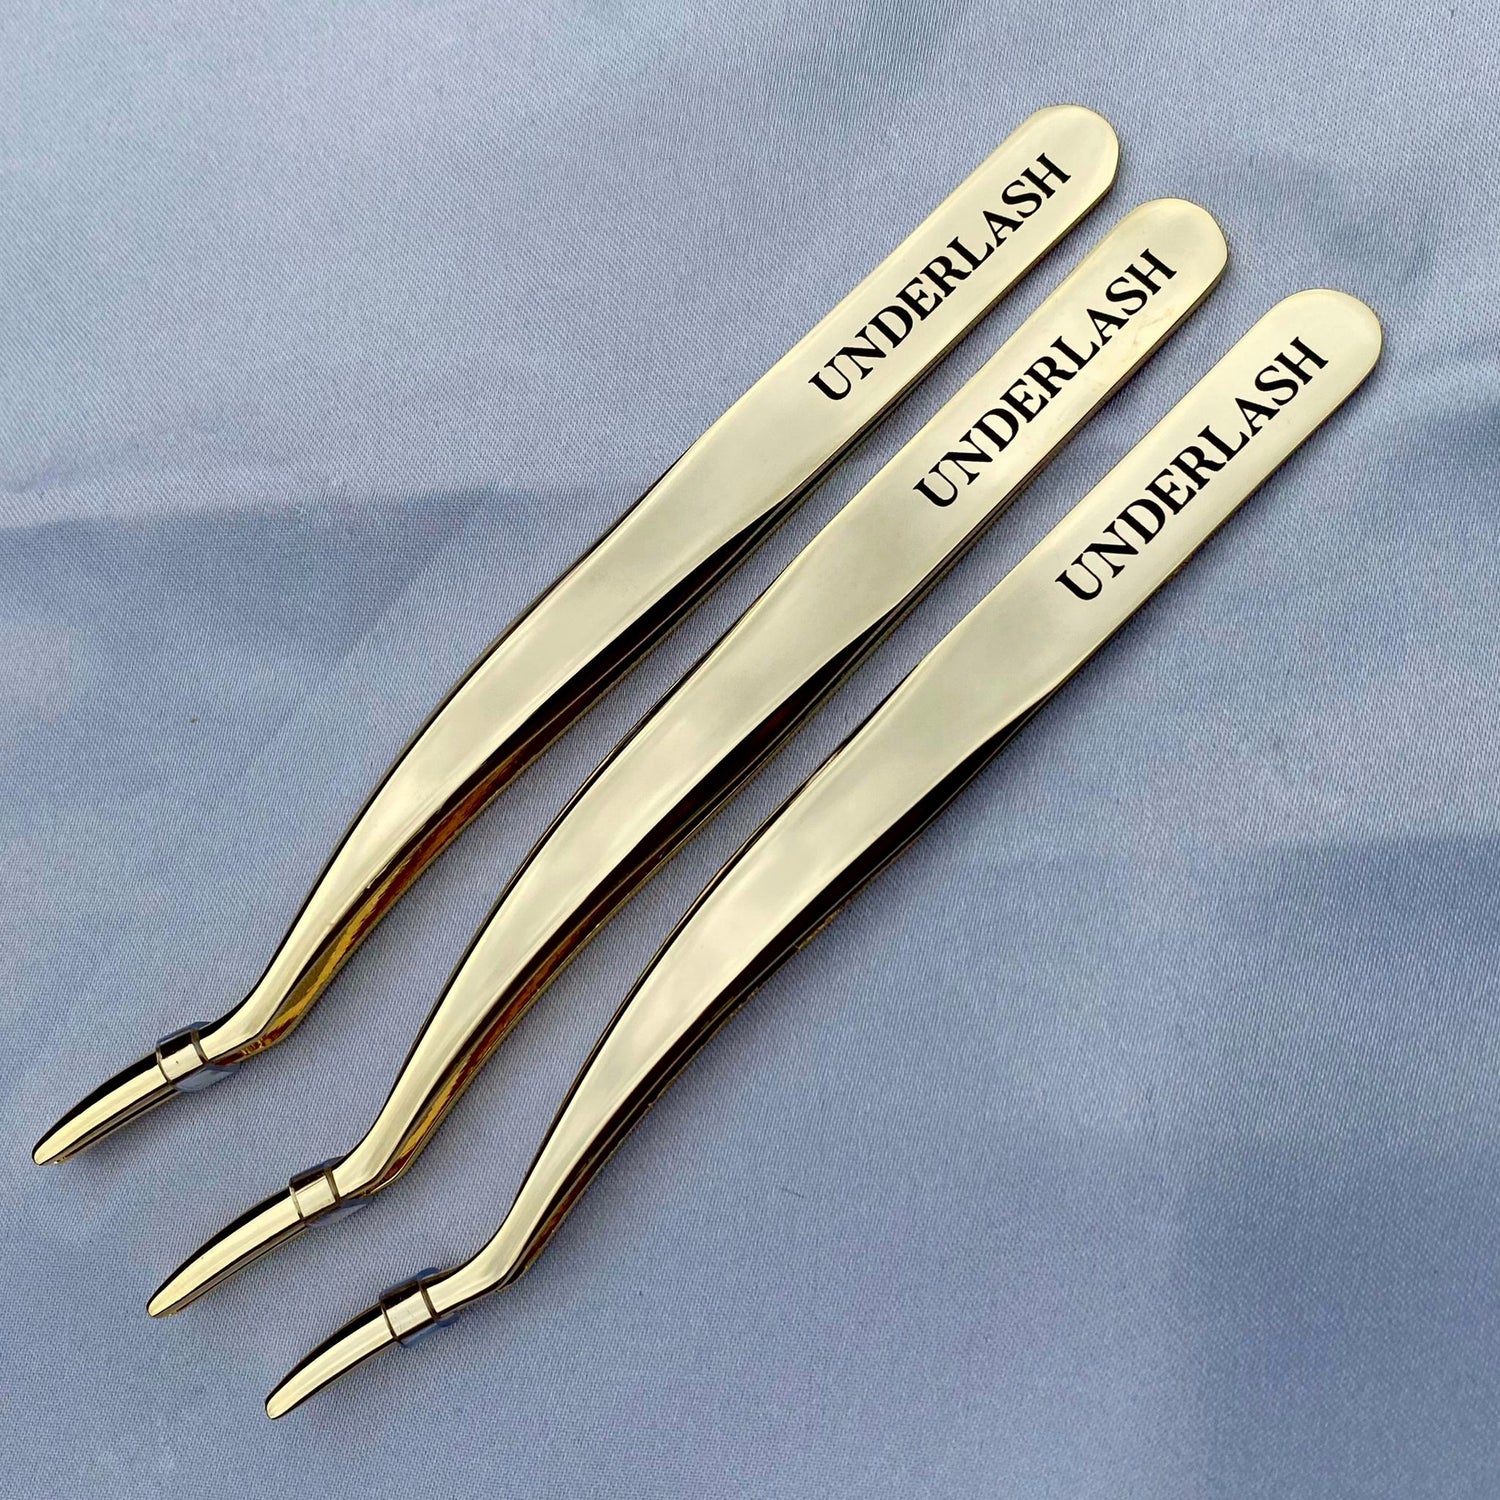
In depth Application process...
Step 1 - Prep the lashes. Removing any oils and dirt. Make sure your lashes are dry before application. Curling your natural lashes will help to get a better view of under your natural lash line. (optional)
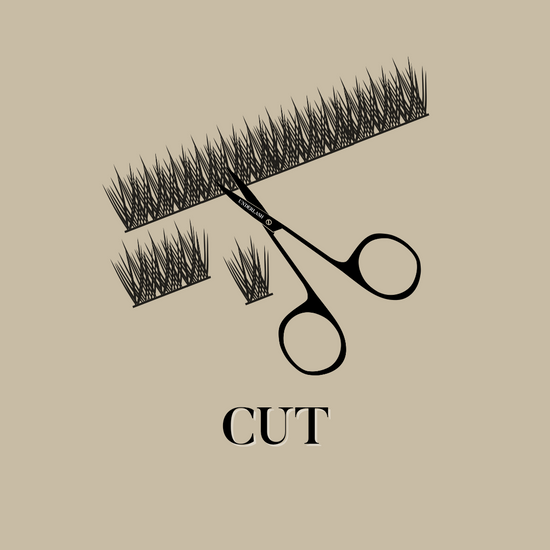
Step 2 - Cut your lash segments up for each eye. How big you cut these depends on your personal choice. For ease cut larger ones. (We reccommend 3 for each eye with the inner corners small in size, middle medium in size and the outer the largest)
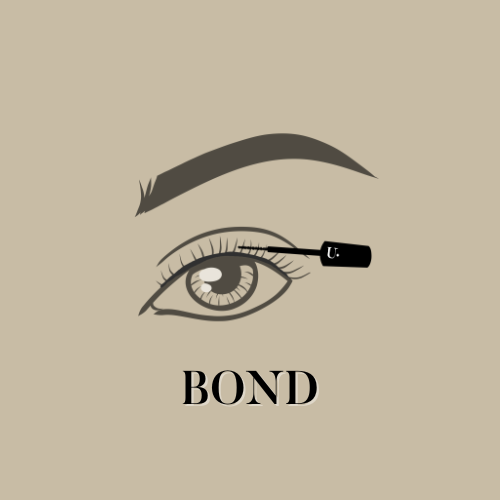
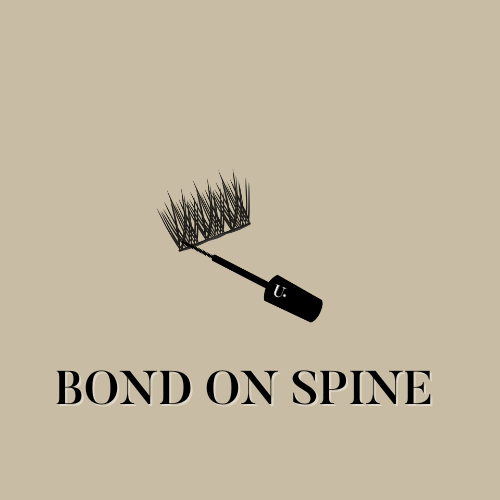
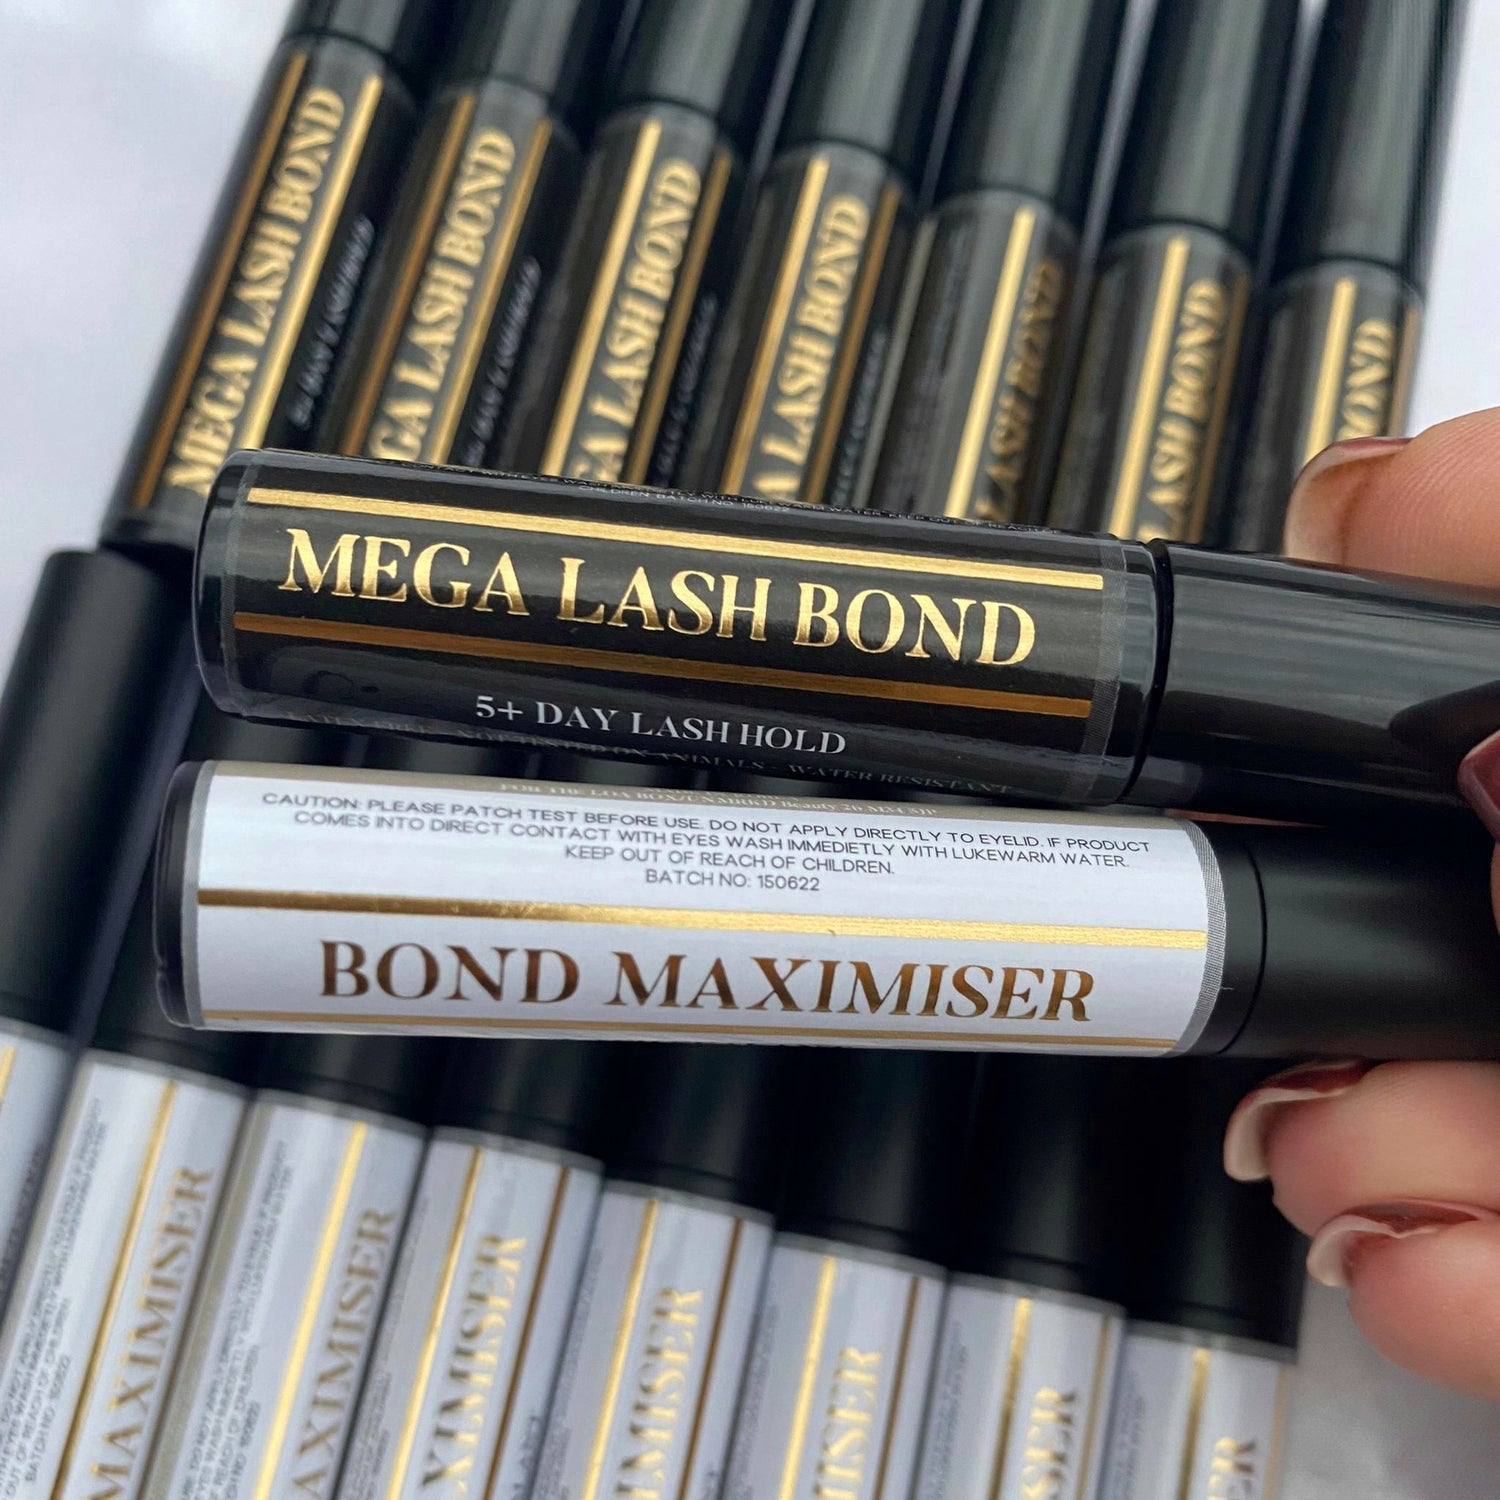
Step 3 - Bond (Mega lash bond). Apply using the action like you would with mascara HOWEVER do not apply the same amount. A small layer is plenty. You will find what works for you. We also recommend you apply the bond to the spine of the lash as you would with a strip lash for extra strength.
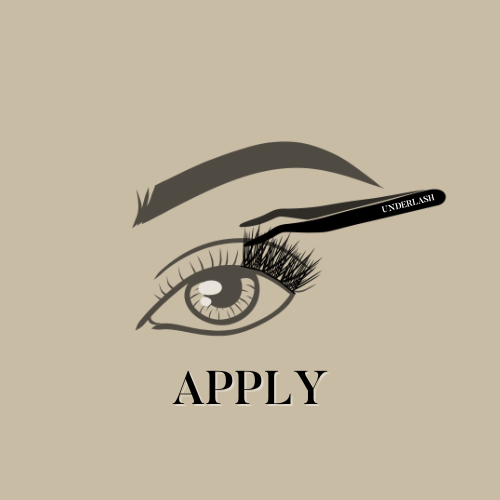
Step 4 - Apply the lash segment underneath your natural lashes, close to the water line but not touching it (around 1-2mm away). When applying hold the lash right at the tip with your applicator tool, this will avoid getting the applicator sticky with bond. Clean your applicator in-between uses to remove any bond residue. (Swiping with a nail file is the quickest and easiest way) if they are uncomfortable and you can feel the lashes then your placement is not correct, before setting please gently remove them and re position till comfortable. Our lashes are lightweight and you should not be able to feel them in any way. Application is all in the angle, make sure you are placing the lash at the correct angle - working to the natural curve of your eye & ensure placement is 1-2mm away from your waterline. You can place a mirror in front of you angled up, so you can look down into the mirror - or use your free hand to lift your eye lid up at the brow for a better view of under the natural lashes/waterline. Overlapping slightly with the previous lash helps them blend together perfectly as well as creates a more secure finish. We also suggest leaving a few natural lashes exposed on the inner and outer corners.
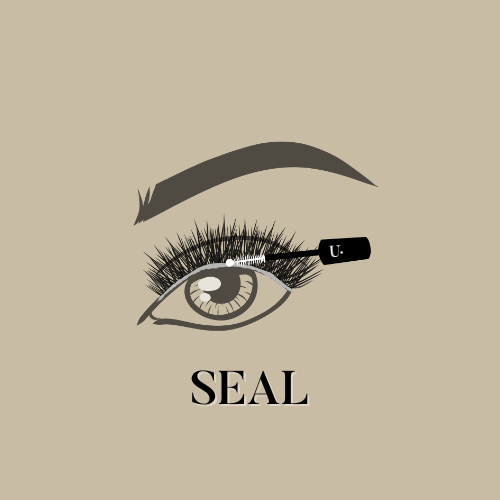
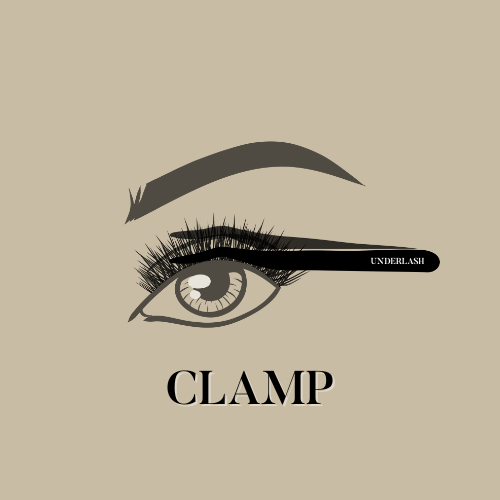
Step 5 - Set your lashes with the sealant. (Bond maximiser) Our sealant acts as a top coat to avoid the bond being broken down as quickly and removes the stickiness of the bond. Pinching down the lashes with the applicator is really important, once you have finished your set wait 5 minutes then clamp down your lashes with the applicator tool, (we recommend pinching daily before bed, after showers etc! Just be sure that if you use your fingers and not the applicator that they are free from oils)
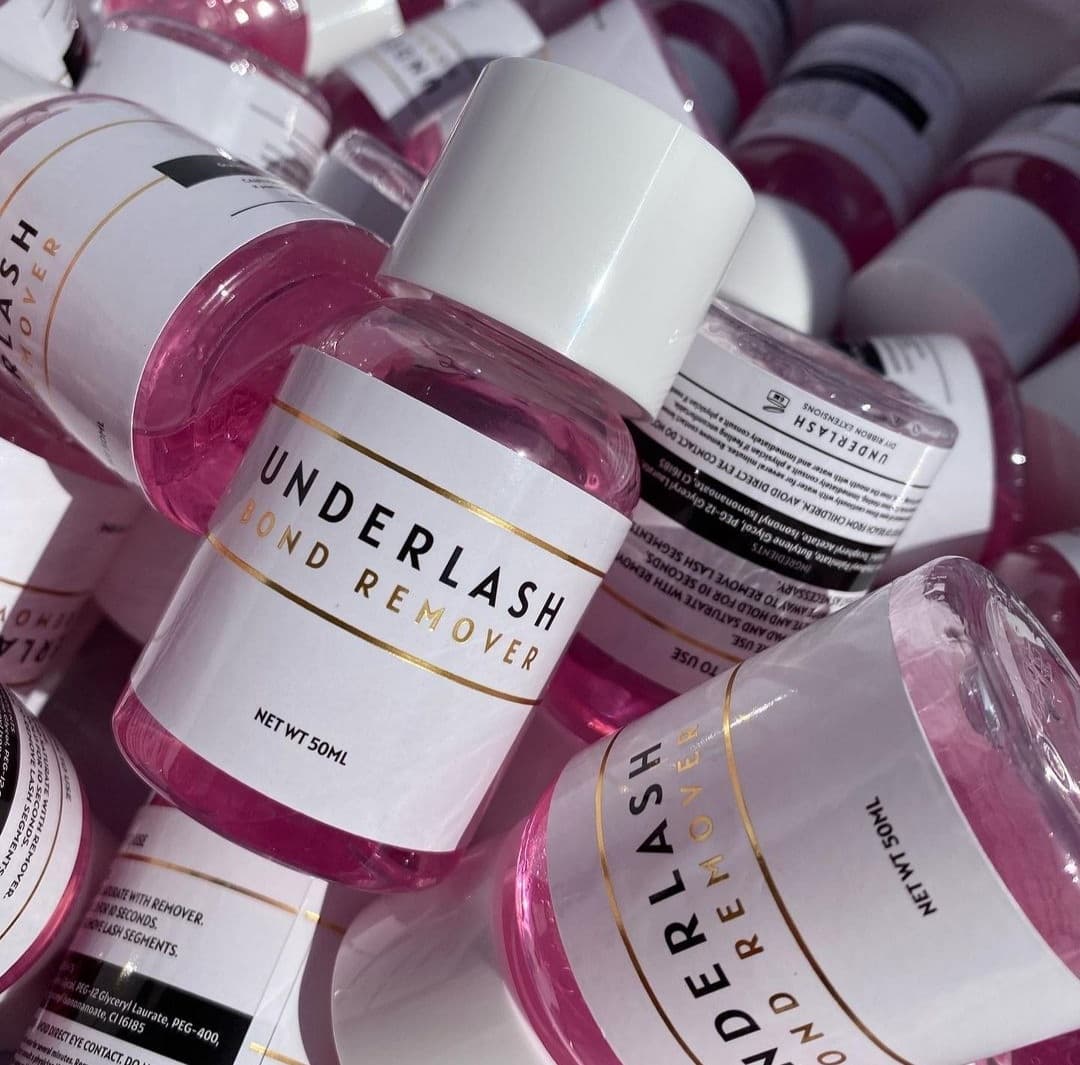
How do I remove them?
We recommend using our REMOVAL WAND for the best results in removing the lashes with ease. For a cheaper alternative we reccomend coconut oil, baby oil or vaseline. Oil based products. Please do not tug at the lashes as this may result in pulling out your natural lashes as well as disrupting the shape of the lash segment should you wish to re use them. Work your lashes into a cotton pad and work slowly. Warm water and a flannel is a good aid also.
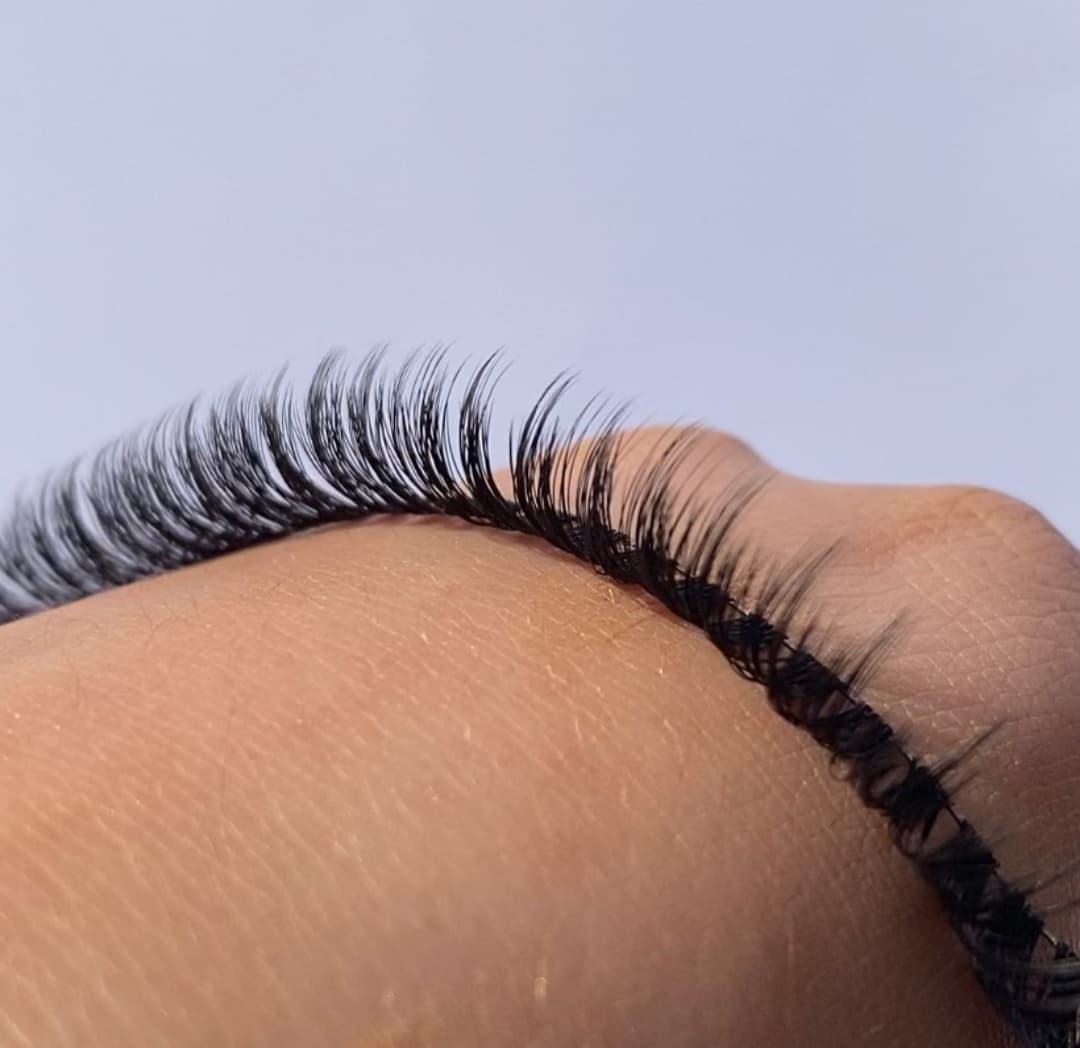
How do i reuse them?
– Take a small container and add around 1cm of isopropyl alcohol.
-Place all used lash segments in to container and leave to soak overnight.
– Take all soaked lashes out on to paper towel.
-Use a clean spoolie (included in our kits) to brush any remaining, softened bond/glue away from lashes.
-Leave to dry and re-fluff like brand

